Quality Control Facilities
ATC has strict quality control processes.
Our quality control processes include :

Inspection before plating to ensure good parts before processing


Implementation of quality procedures of the Nadcap process and AS 9100 for aerospace customers and ISO 9001 for non-aerospace customers
List of Quality Tools & Equipment
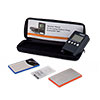
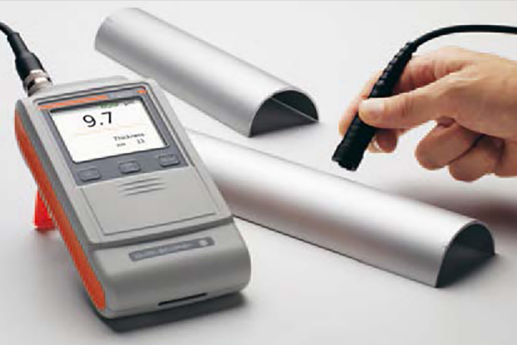
Dualscope Coating Meter
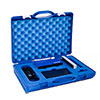
Gloss Meter @ 60 Degrees
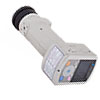
Color Spectrometer
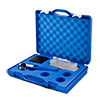
Cross Cutter

Abrasion Tester

10X Magnifying Luxo Lamp

400X Microscope

Weighing Scale Unit

Salt Spray Chamber

AA Machine

Micrometer

Vacuum Seal Machine

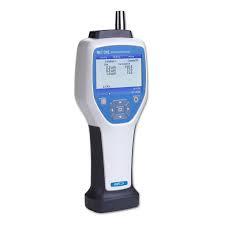
Particle Count Meter
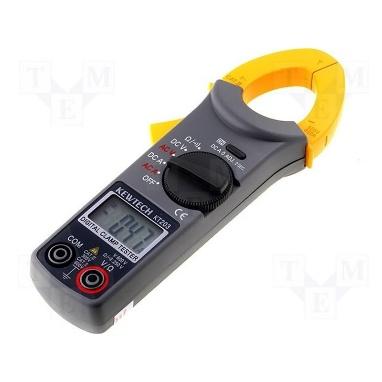
Digital Clamp Multimeter
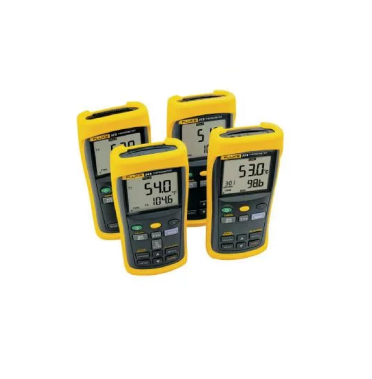
Thermometer with sensor 52-2 50Hz
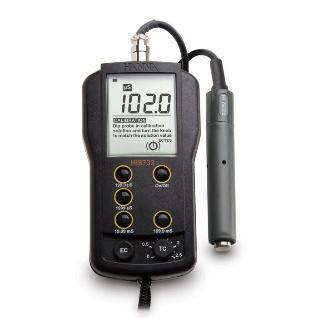
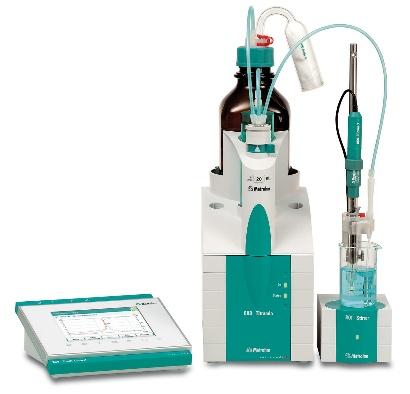
Autotitrator 888 model Metrohm
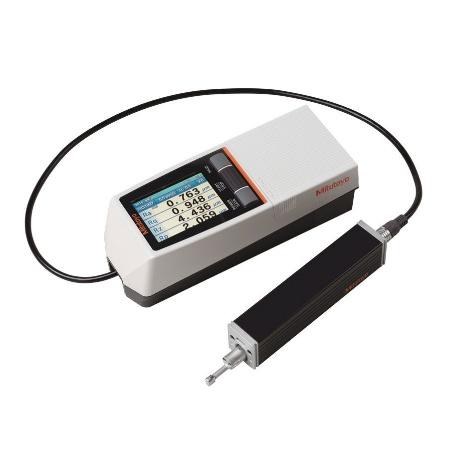
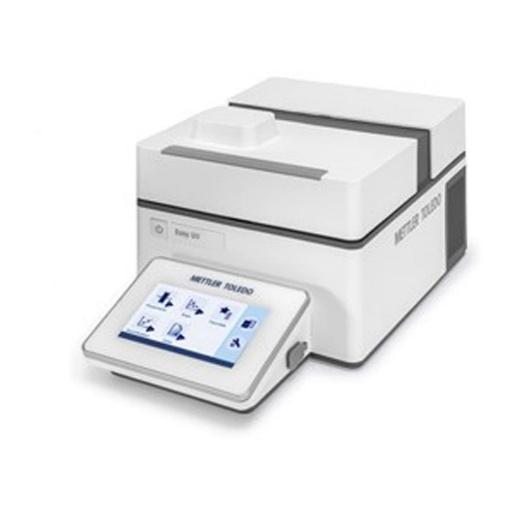
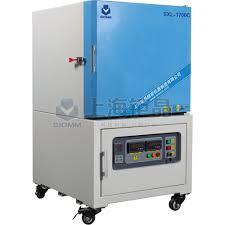
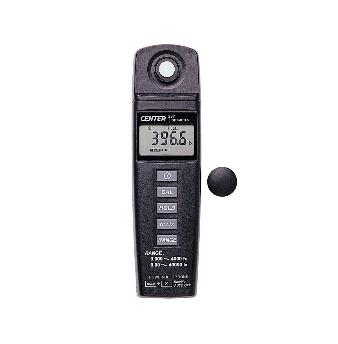
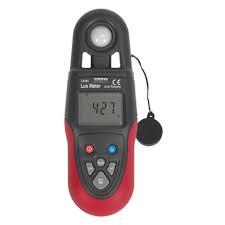
Light meter Center
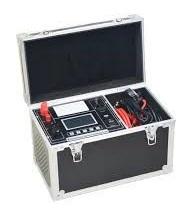
Electrical contact resistance 0
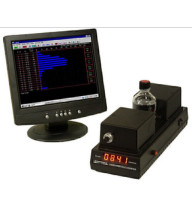
Porosity test
Performing porosity test highlights any corrosion of the base metal alloy, in areas where there are any inconsistencies in the surface coating.
Copper sulphate and Potassium Ferricyanide tests are adopted for the determination of porosity of surface coating on steel alloy substrates. Copper sulphate is used when there is a need to verify the effectiveness of stainless-steel passivation treatment, while potassium ferricyanide is utilized for steel passivation treatment. For Tin plating, sulphur dioxide is utilized for the identification of discontinuities at surface coatings.

Adhesion test
Adhesion test is an important tool to evaluate the strength of bonding between the surface coating and metal substrate.
The test methods employed are Bending test and Taping test. Bending test revolves around the deformation of plated metal substrate to the point of breakage, before evaluation for peeling or cracking of coating. Taping test involves two variations: Cross-hatch and Wet-tape. The use of approved standard tapes is utilized for both of these variations, which yields reliable and repeatable results.

Microscopical thickness test
The assessment of plating thickness is an important aspect of the plating process. Accurate cross-sectional plating thickness may be verified by the utilization of an Optical Microscope capable of 500x magnification – down to 1 micron. The capability to reveal surface details too small to be seen by the unaided eyes, sets it apart from regular thickness gauges capable of only rough thickness evaluation.

Hardness test
Hardness testing allows the appraisal of the coating’s strength, ductility and wear resistance. It grants customers the relevant information to determine the suitability of the coating for a given purpose. The Vickers hardness test is the standard method employed, as it has a broad load range making it suitable for a wide range of applications and materials.

Salt Spray Test

Black Light Inspection
Black Light Inspection involves the use of Ultraviolet (UV) light on cleaned components. This aids in the identification of fibres or particles, that are typically undiscernible under visible light. This inspection is an indispensable process control step to ensure absolute cleanliness is achieved

Coating Weight test
Attaining consistent coating weight results also provides assurance to customers of the maintained quality standards of plated goods.

Particle Count Test
Particle count test utilizes a particle counter to measure the concentration of particles in the atmosphere. The test is conducted prior to the commencement of any activity in the Cleanroom, so as to safeguard the cleanliness of the processed products.

Gloss test
Through the use of a Gloss meter, the specular reflection gloss of the surface coating can be measured. The gloss variance can thus be determined, which in turn guarantees the acquirement of an even gloss finish based on the customer’s needs.

Impact test
Impact test is performed on coated test panels that have been cured for 24 hours, through the use of an impact tester. The adhesion and completion of curing can therefore be determined through this test method.
Abrasion Resistance Test
The purpose of performing Abrasion test is to establish the ability of a coating to withstand mechanical actions such as rubbing, scraping or erosion. The primary method of evaluation of abrasion resistance utilized is Wear Index. Wear Index is calculated from weight loss of coating obtained from abrasive actions, through use of an Abrasion tester

Water Immersion Test
Water immersion test is an accurate method to test the water-resistance of surface coating, as it allows the specific identification of leak locations, if any.
Parts are either fully or partially immersed for a set duration of time. This is followed by visual evaluation and via appropriate physical tests. Surface coatings that are inadequate will reveal signs of blistering, cracking, or adhesion loss.
